A connection problem between Art3 and Art4.

Viewing 2 posts - 1 through 2 (of 2 total)
  • Author
    Posts
  • #463

    Hello.
    I’ a student majoring in computer engineering in Korea.
     First, thank you for sharing this awsome project.
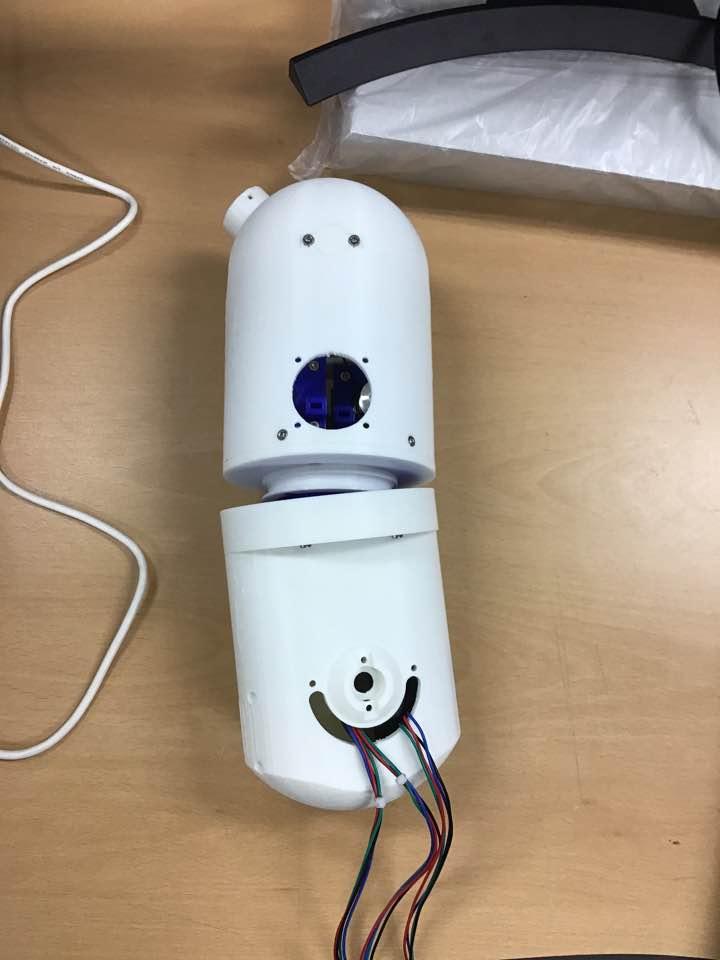
    I’m currently assembling the robot arm after the circit and motor tests have been completed.

    However, it is difficult to assamble art3 and art4 bodies.

    In your video, Art3 and Art4 are well connected.
    But, when I assembled them with reference to FreeCAD, I can not see any parts or methods to assamble.

    In this case, the upper part will be messed up during robot operation.

    If i missed anything, please tell me.
    I also want to know how much I need to opetate the control PCB.

    I have a 12V/3A adapter but it seems to be not enough to operate the whole motor.

    I atteche a picture of my Thor.

    Thanks!

    KakaoTalk_20190131_162057025.jpg

    #767
    Angel LM
    Admin

      Hi D.B Ko!
      Thanks for sharing with us photos of your Thor! It looks impressive! 🙂
      Regarding your questions:
      Art3&Art4 Union: There are a piece called Art4BearingRing and other one called Art4TransmissionColumn. You will need to insert 30 small balls (Diameter 6mm) between this pieces trough the small hole placed in one side of the Art4BearingRing piece. I have used 6mm airsoft balls and it works very well. I know that is not the same version (is the one that is not already tested) but I did an animation of the assembly that you can check here. As almost all pieces are very similar I think it would help you in the assembly.
      PCB Power supply: 12V/3A will not be enough to bring power to the 7 steppers of the robot. I’m currently using a power supply of 12V/7A and it seems to be enough.

      Hope it helps!

    Viewing 2 posts - 1 through 2 (of 2 total)
    • You must be logged in to reply to this topic.