Control Software
Controlling a machine by sending GCode commands through the console is not the most intuitive thing to do.
That’s why there are graphical interfaces such as Universal GCode Sender that make this task easier. Unfortunately, as UGS was designed for controlling CNC machines, it doesn’t support control for more than 3 steppers.
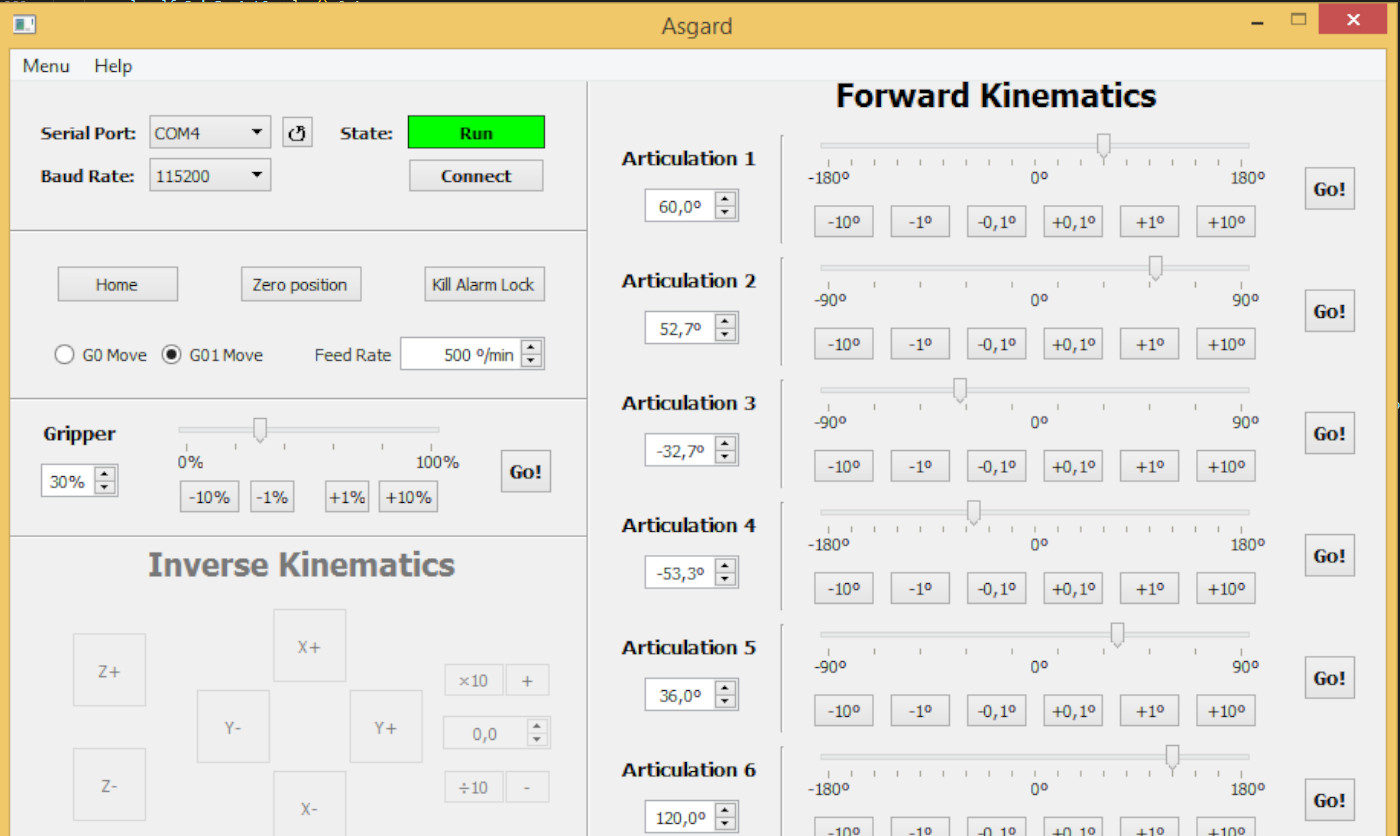
Based on this idea Asgard was developed.
Asgard is a Graphical User Interface (GUI) made for Thor, programmed in Python using the PyQt5 libraries.

Features:
- User-friendly graphical interface
- Forward Kinematics implementation (v1.x)
- Integrated serial console
Upcoming features:
- Inverse Kinematics implementation
- Sequence Programmer
- 3D display
- 3D IK Controller/Sequence Programmer
Asgard installation
As it’s a python program it doesn’t matter what OS you use, all you have to do is install Python 3 and execute Asgard. To do so, follow the instructions below:
- Go to the Python Downloads site, download the latest version of Python 3 and install it in your PC.
- Go to the Downloads section of this site and download the source code of Asgard and unzip the file to a known location.
- Open your system terminal and navigate to the Asgard files folder.
- Once you are on the same folder as the file ‘asgard.py’ execute the command
python asgard.py - It’s likely that the previous step throw dependency errors that you should resolve in order to execute Asgard. To resolve them you will have to install some libraries, to do so just execute this command:
python -m pip install pyqt5 pyserial numpy pyqtgraph pyopengl - Once the installation of the libraries is finished, run the command
python asgard.pyagain. This time the program should appear and you can start using Asgard!
Asgard usage
Although the programme is quite easy to use, it does not hurt to explain each of its features.
Board connection
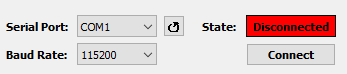
Serial Port: Combo box to select the port the board is connected to. The button on the side is used to update the port list.
Baud Rate: Communication speed, 115200 bauds as default.
State: Display that shows the current state of the board (Disconnected, Idle, Run or Alarm).
Connect button: Once the serial port is selected, click it to establish the connection.
General Controls
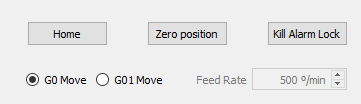
Home button: Runs the homing command ($H).
Zero position: Runs the command to move the robot to the zero position (G0 A0 B0 C0 D0 X0 Y0 Z0)
Kill Alarm Lock: When the homing cycle fails, the Alarm mode is activated and the robot movements are blocked. This button runs the command to kill the alarm lock ($X).
G0/G01 Move mode: Switch between G0 (rapid movement) and G1 (controlled speed movent).
Feed Rate: Movement speed input. Enabled when G01 Move is selected.
Forward kinematics
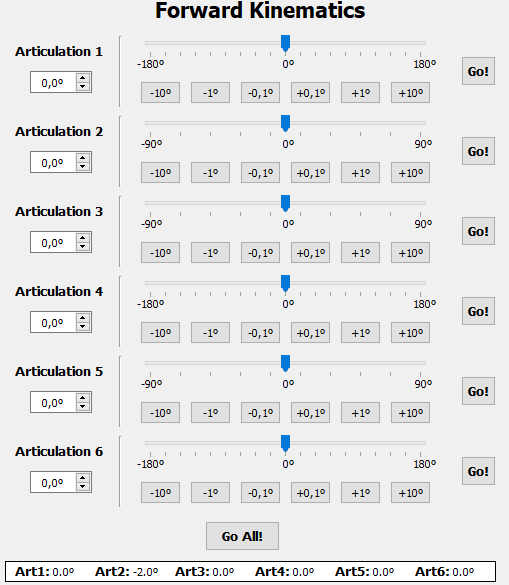
Each articulation has three different ways of introducing the target angle (input box, slider and buttons) and a “Go!” button to move the articulation.
Go All! button: Instead of moving each articulation individually, this button sends the movement command to move all articulations at once.
Angles Display: This display shows the current articulation angles of the robot.
Gripper control
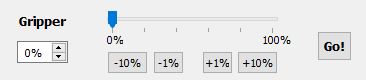
Similar to Articulations FK control, there are three ways of inputting the signal controlling the robot tool and a “Go!” button to send the command.
Console
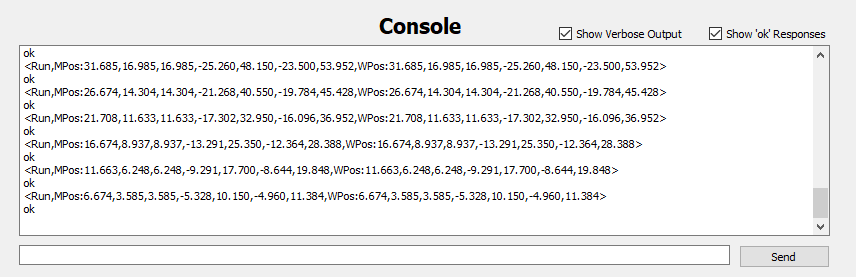
At the bottom there is a serial console, similar to the Arduino’s one, that shows every command sent to/from the board. There is also a text box where commands can be type and a “Send” button to send it to the board.
Show Verbose Output: This checkbox allows you to show/hide the verbose messages sent by the board containing the status and position information.
Show ‘ok’ responses: This checkbox allows you to show/hide the ‘ok’ Responses sent by the board.