3D Print
Printing all parts is one of the first milestones you will have to achieve in this project. It won’t be quick, some prints may fail, the filament may run out… Be patient and continue, the result will be great!
Every 3D printer is different, and you should know better than anyone how yours works. However, here are a few general recommendations that may be helpful:
- Large Pieces: Due to mechanical resistance, it would be better to print the large pieces (the Articulation 2 ones) in one piece. If they don’t fit in your printer, there are splitted versions in the “Mods” folder.
- Materials: Almost every piece can be printed using PLA (Cheap and easy to print). Small pieces in contact with the motors should be printed in ABS (it has a better heat resistance than PLA).
- Optodisks: The pieces Art1Bot, Art23Optodisk, Art4Optodisk are used to block the light from an optical sensor in all positions except where the slot is located. As the walls of the disk are thin and light can pass through, it’s recommended to cover the surface of this pieces with primer paint or nail polish, taking care not to cover the slot.
- Print Settings: As pieces are quite large, it’s recommended to use thick layer heights like 0.3mm in order to reduce printing time. In general, 3-4 walls should be enough with a 20% infill.
- Supports: Some parts of the pieces have been designed at 45 degrees to avoid the need of supports during printing. However, some pieces need supports to print well, so it would be a nice idea to enable the supports for every angle greater than 50 degrees on all prints.
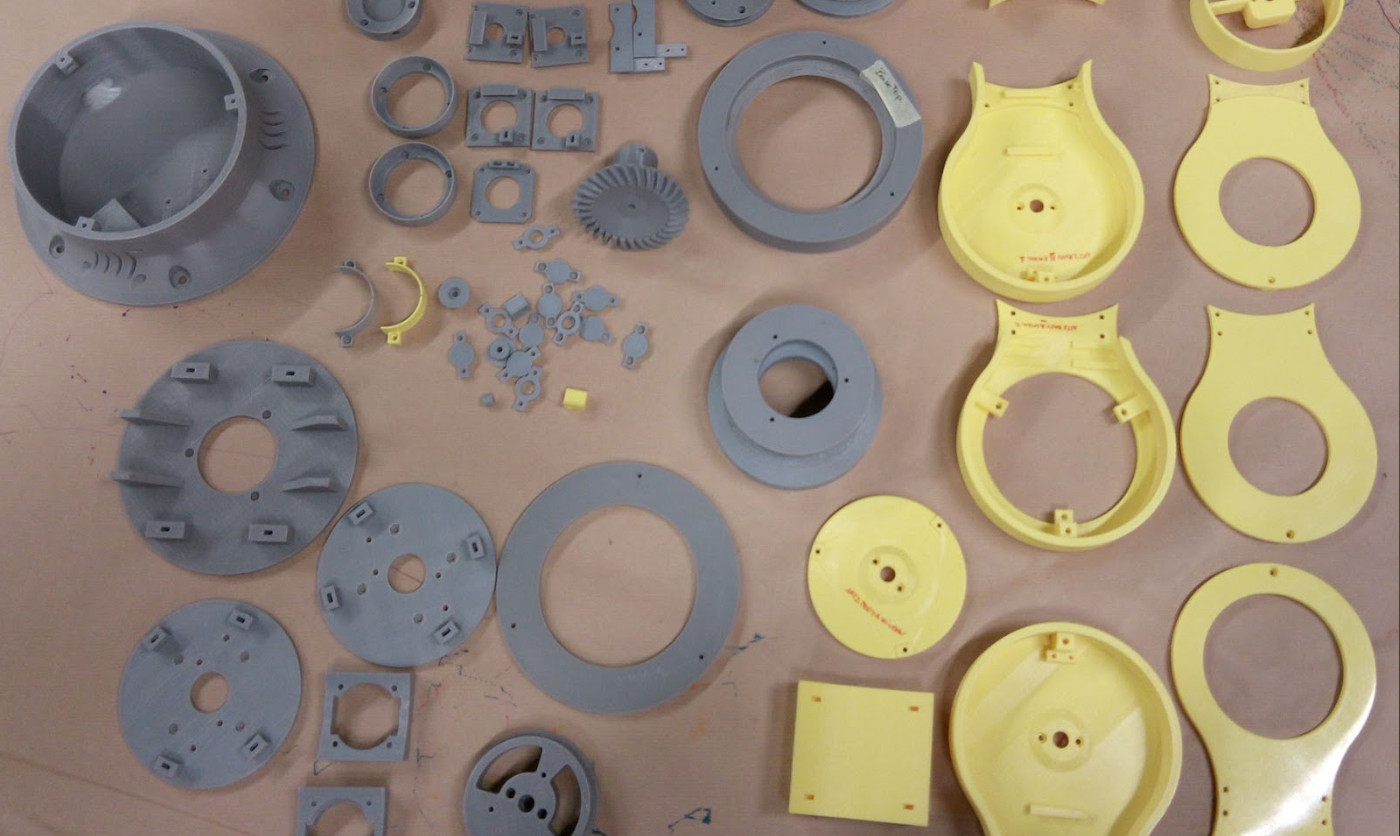
- Part quantity and print orientation: The following table indicates the quantity to be printed of each of the parts and how they can be oriented to be printed. It also specifies the material of each part.
| Part Name | Quantity | Material | Printing Orientation |
| BaseBot | 1 | PLA | 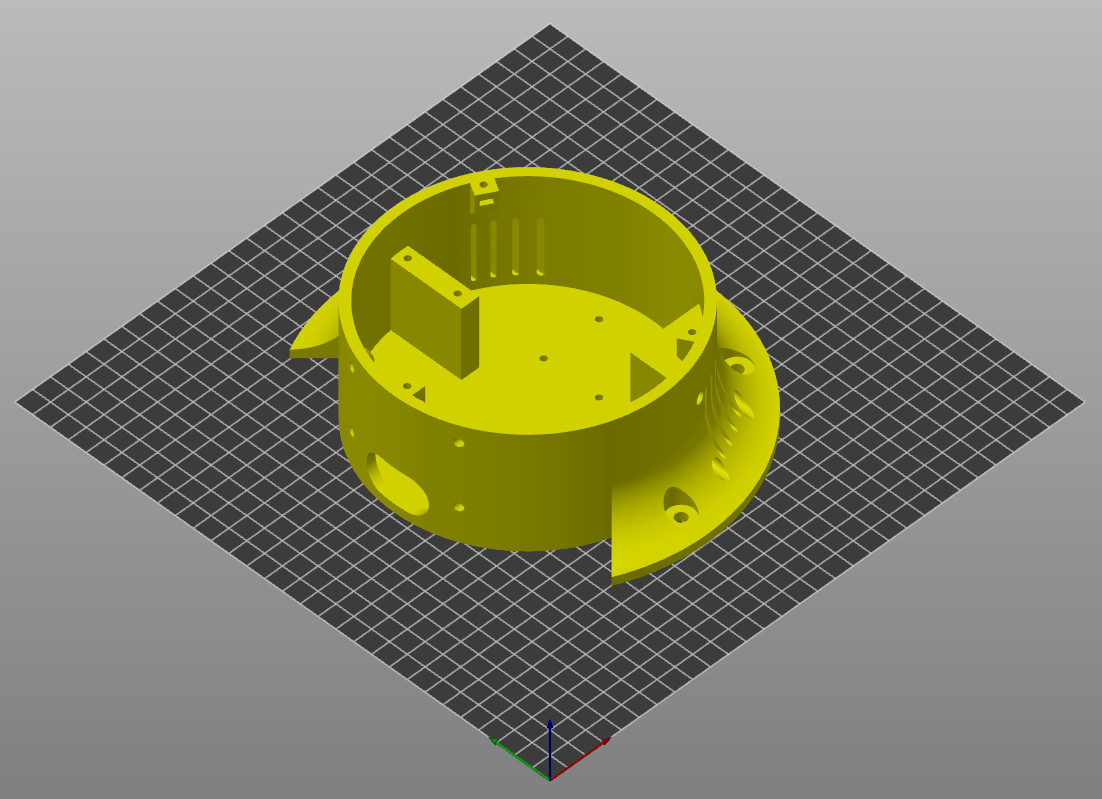 |
| BaseTop | 1 | PLA | 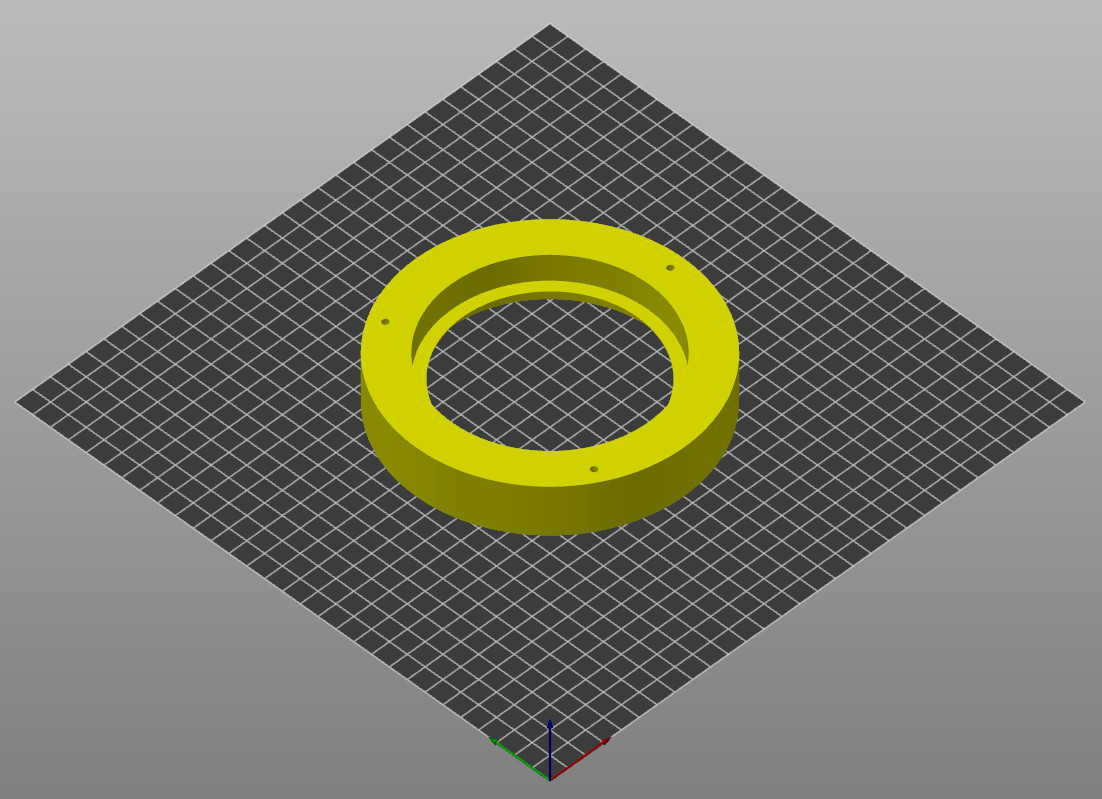 |
| BaseBearingFix | 1 | PLA | 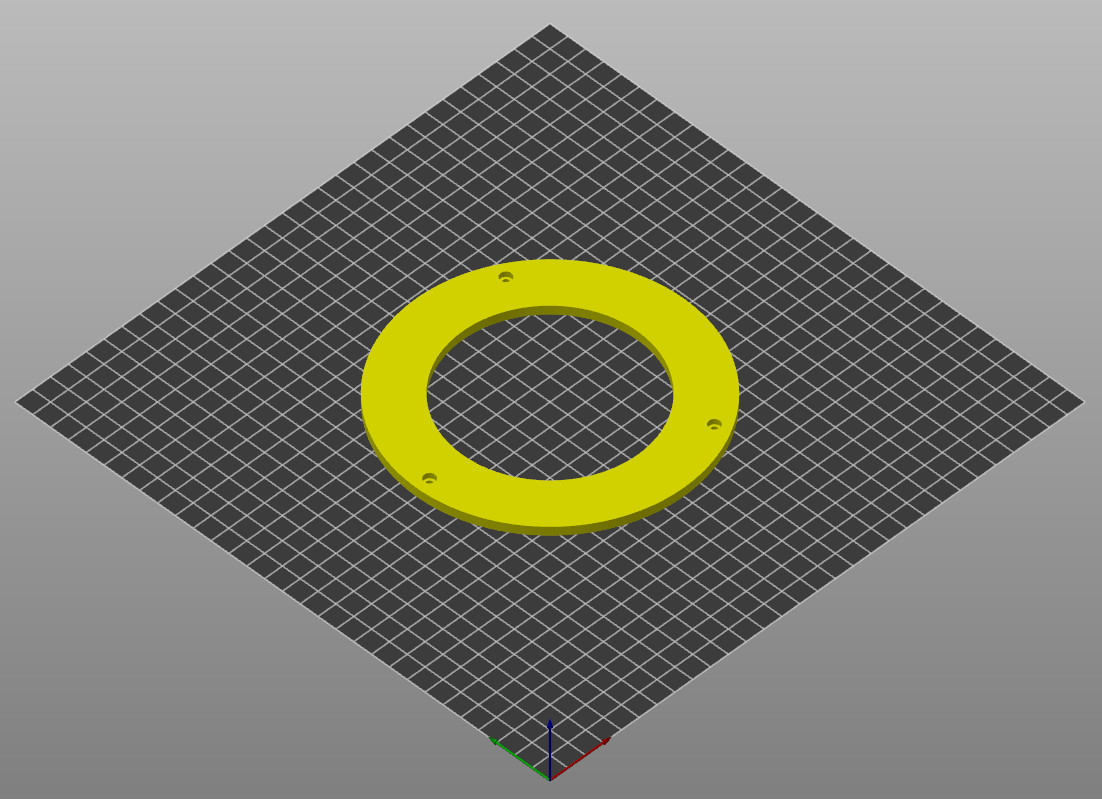 |
| BaseBoxBody | 1 | PLA | 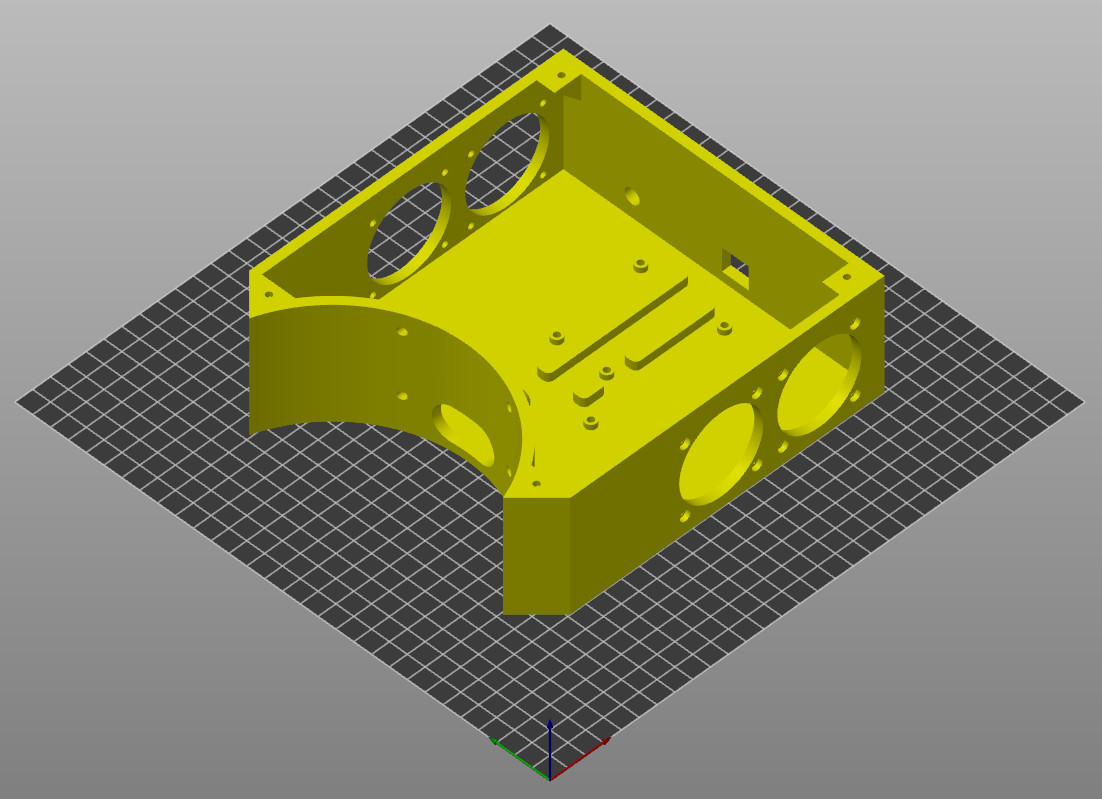 |
| BaseBoxCover | 1 | PLA | 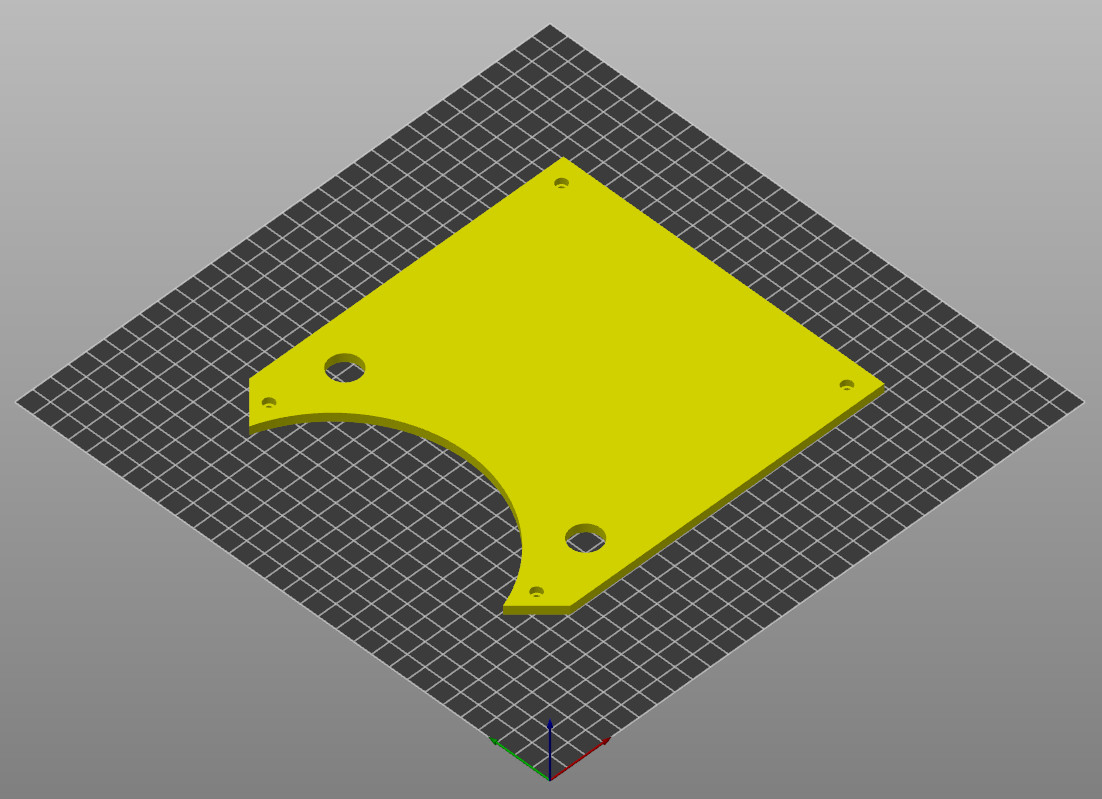 |
| Art1Body | 1 | PLA | 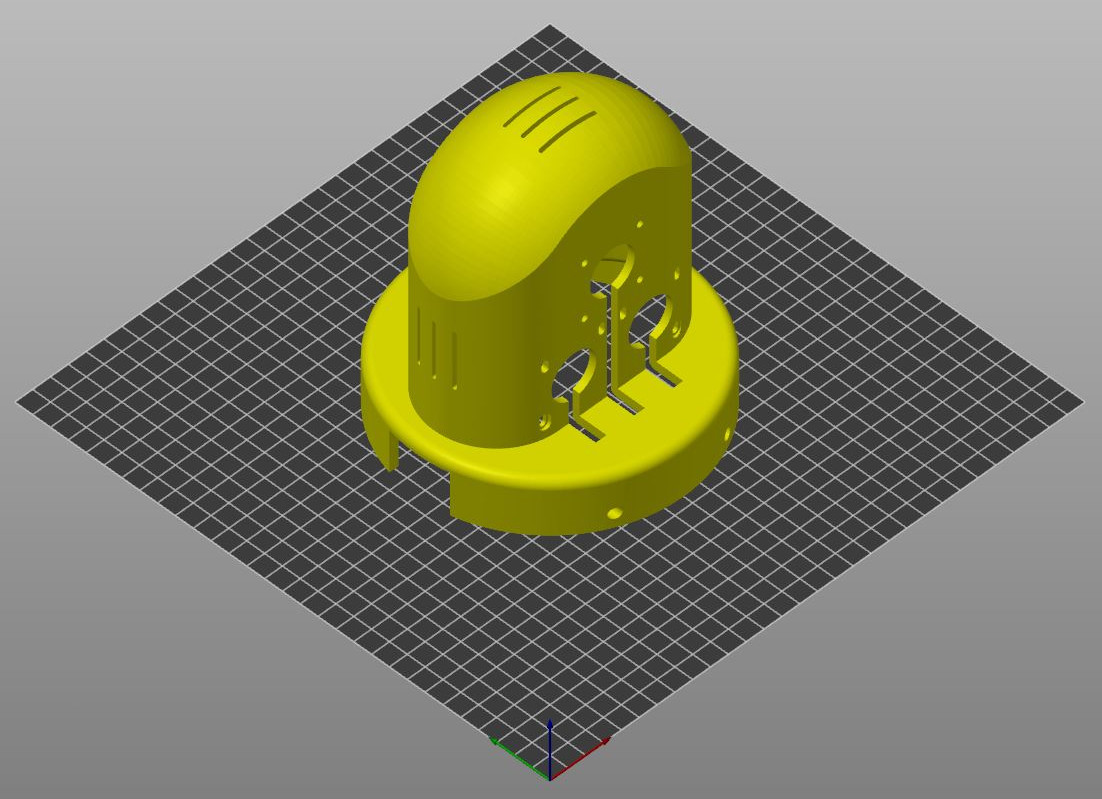 |
| Art1Bot | 1 | PLA | 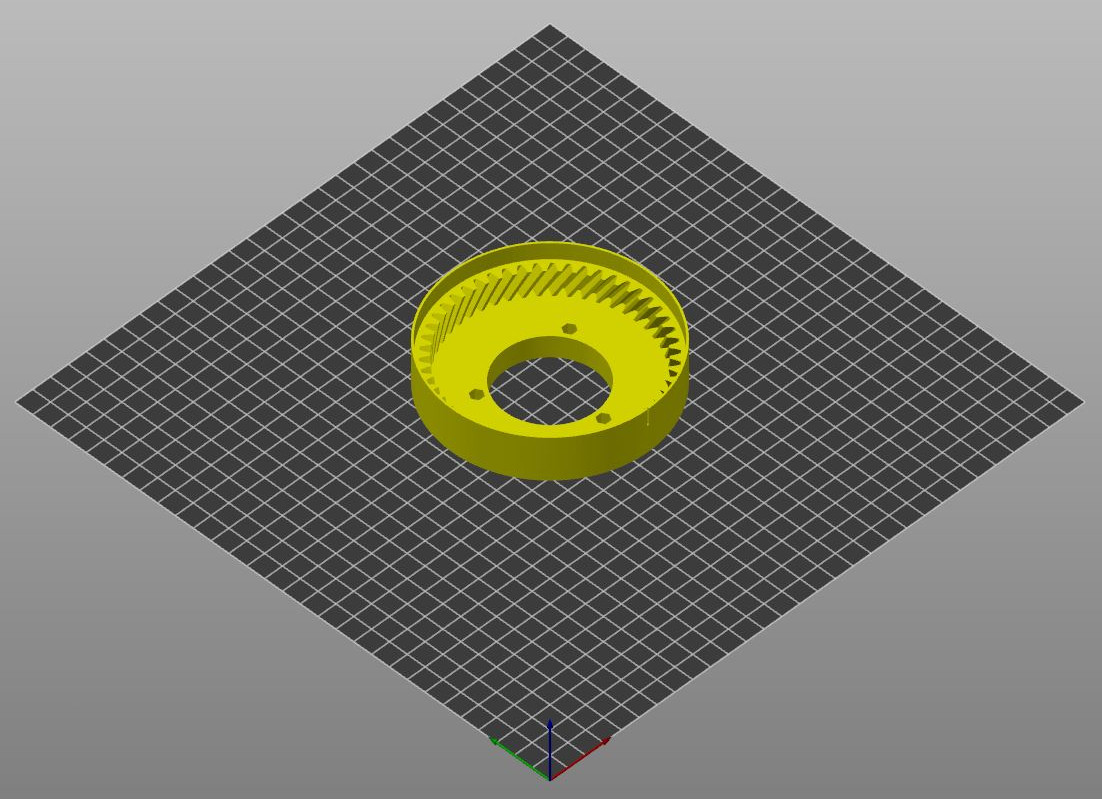 |
| Art1Top | 1 | PLA |  |
| Art1FanHolder | 2 | PLA | 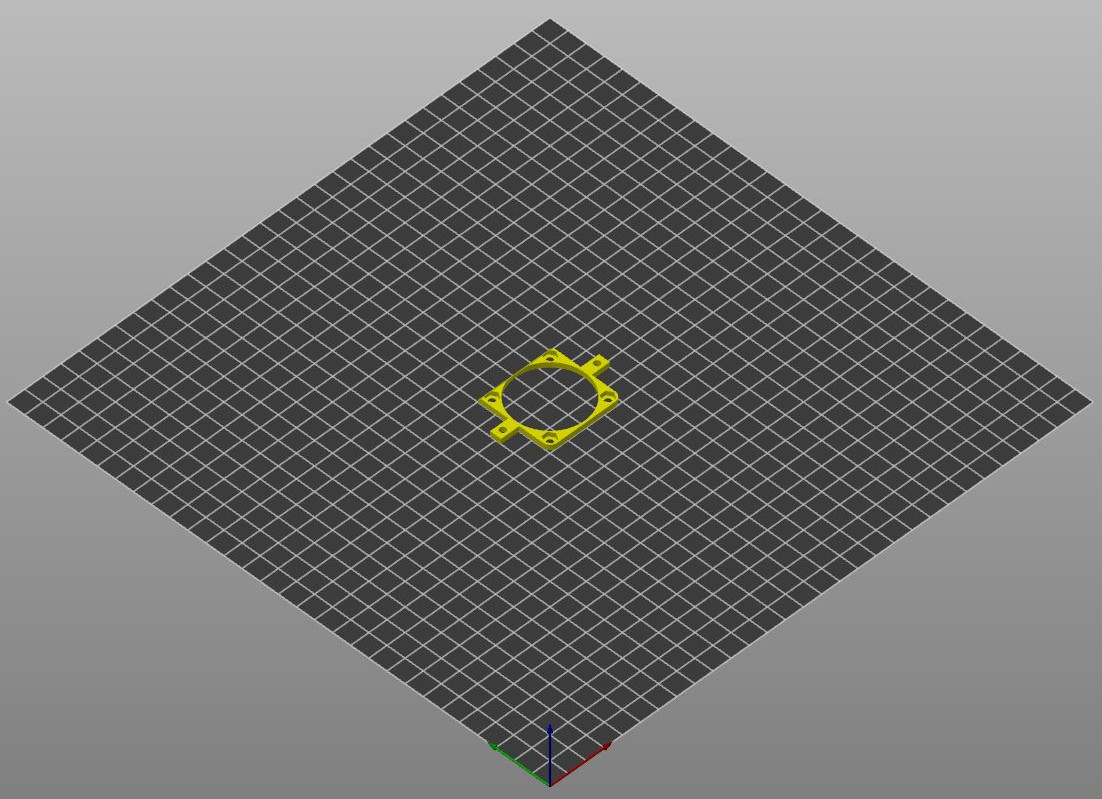 |
| Art1GearMotor | 1 | ABS | 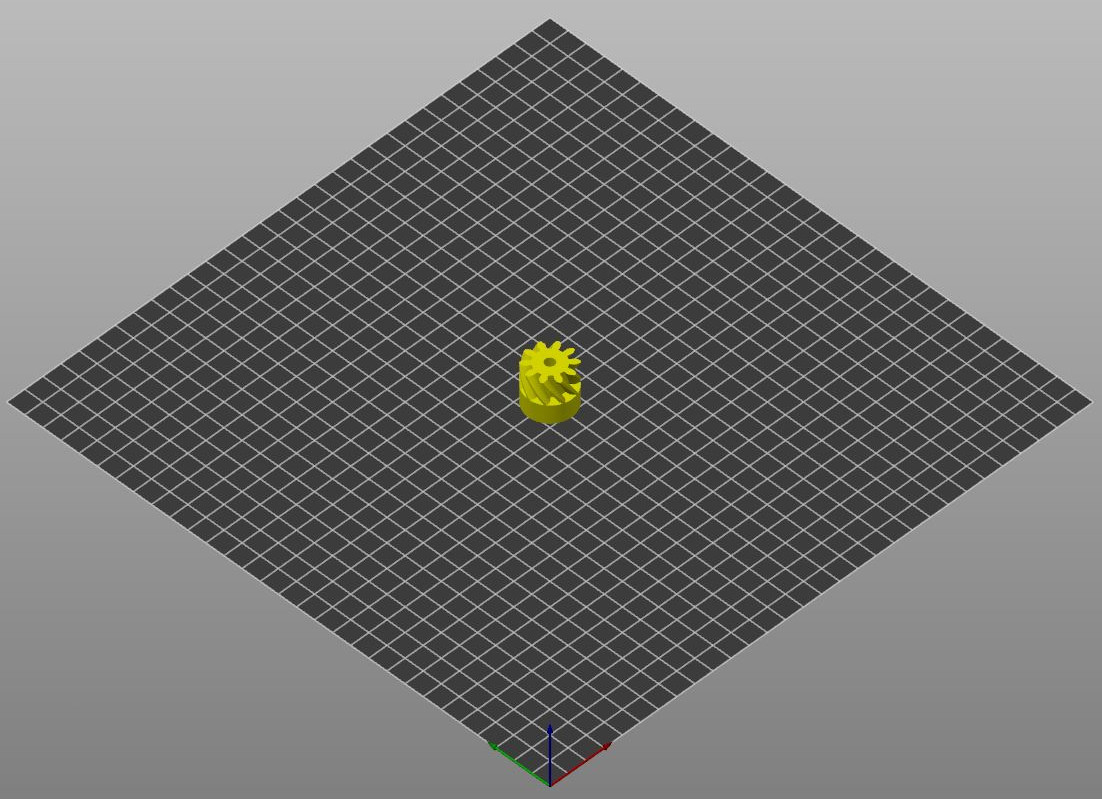 |
| Art1OptoFix | 1 | ABS | 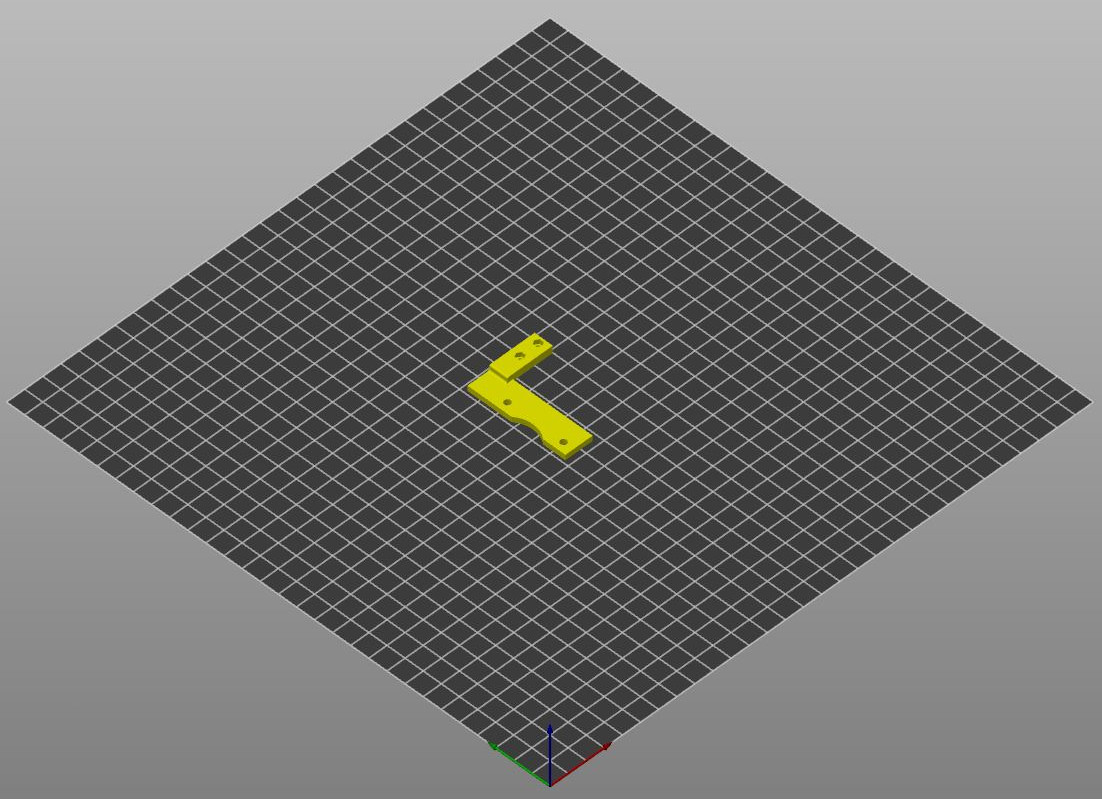 |
| Art2BodyA | 1 | PLA | 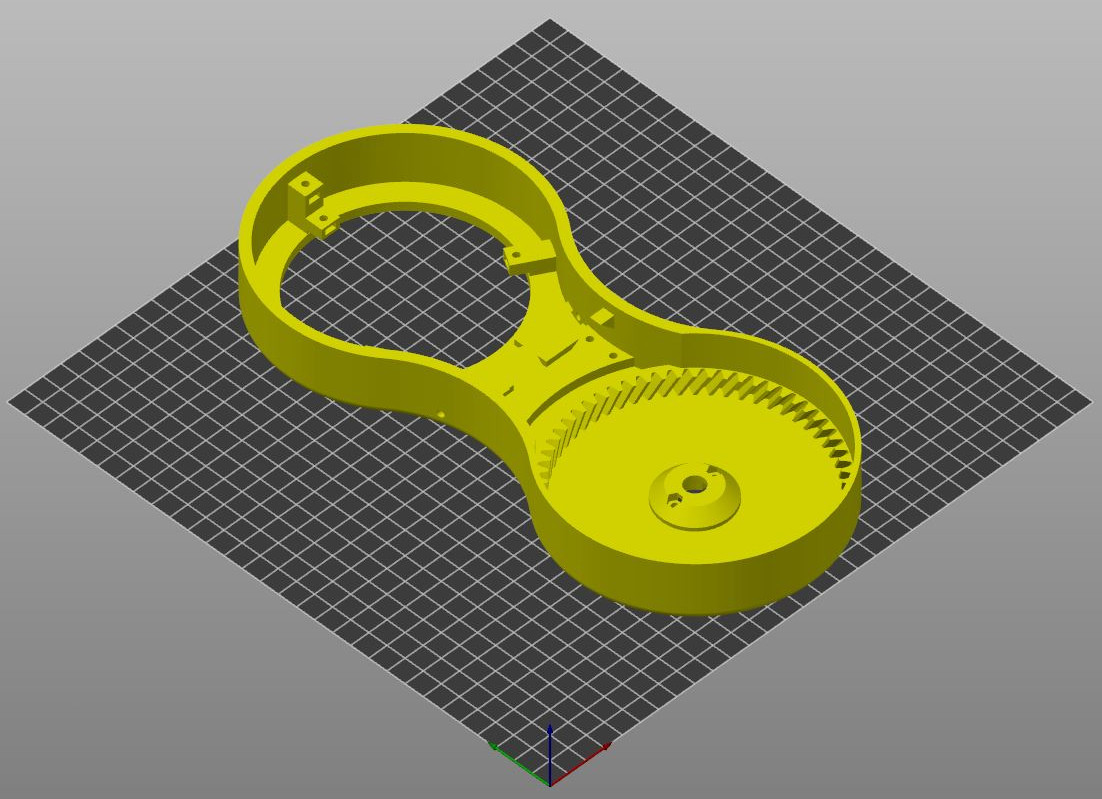 |
| Art2BodyACover1 | 1 | PLA | 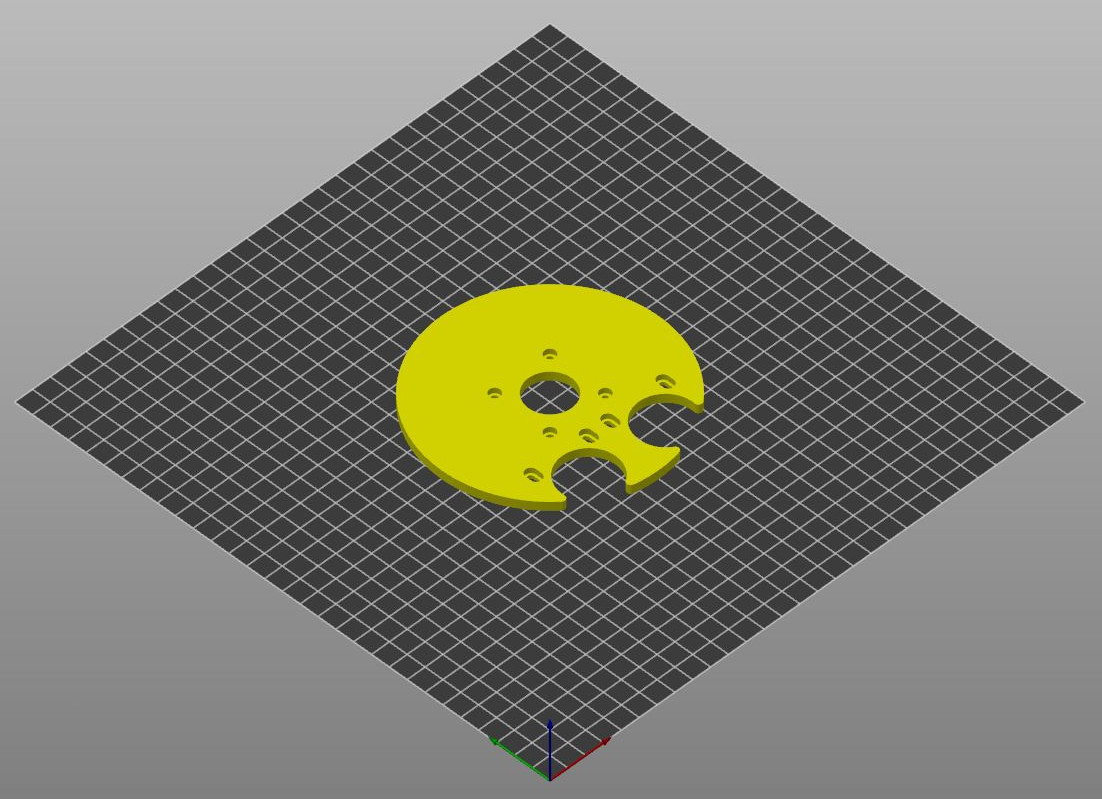 |
| Art2BodyACover2 | 1 | PLA | 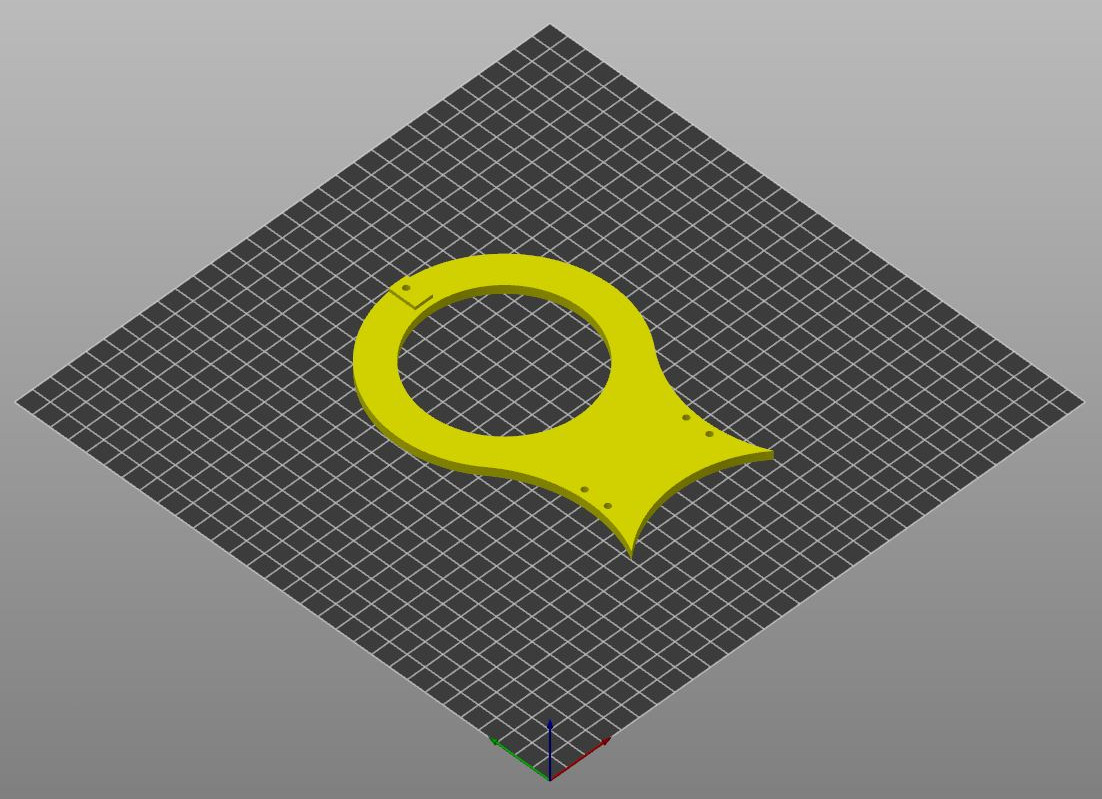 |
| Art2BodyAWindow | 1 | PLA | 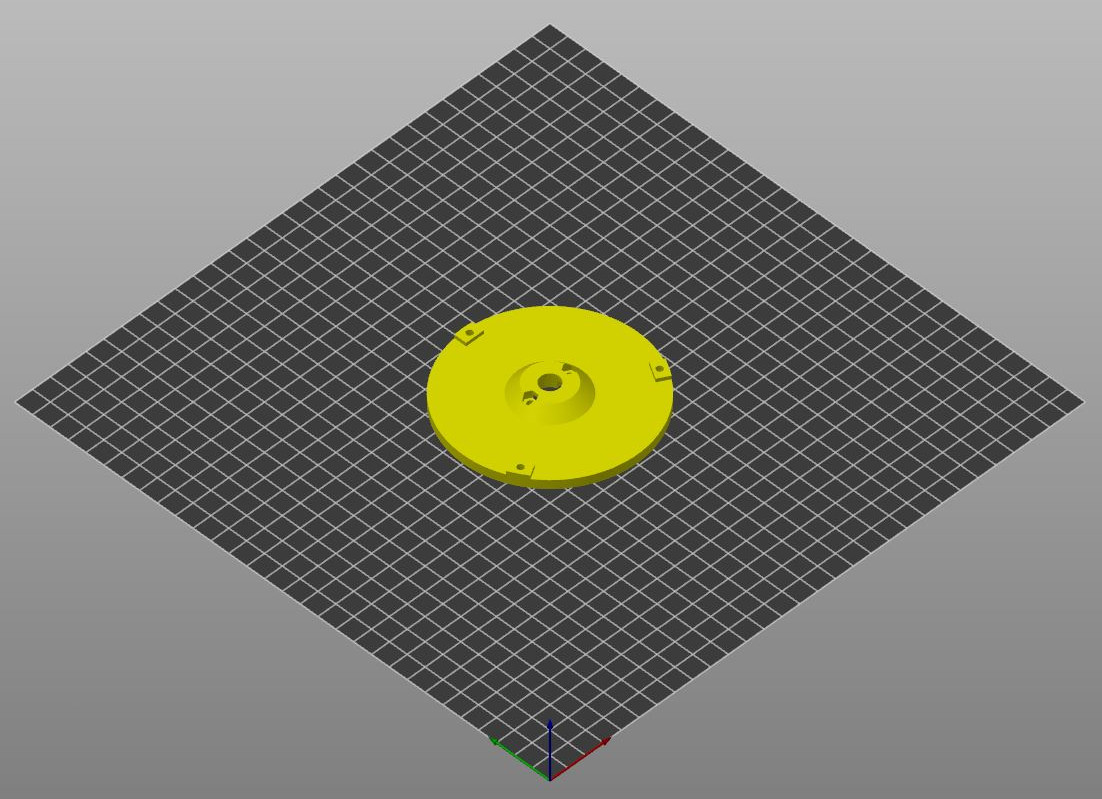 |
| Art2BodyB | 1 | PLA | 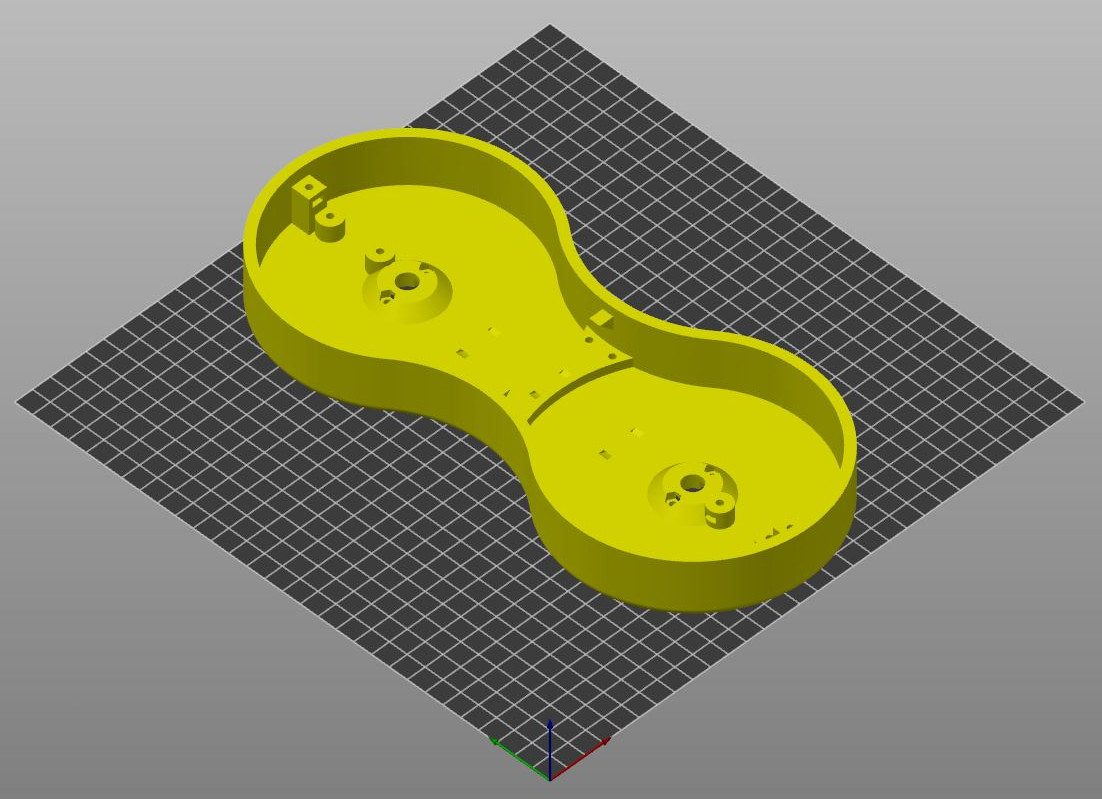 |
| Art2BodyBCover | 1 | PLA | 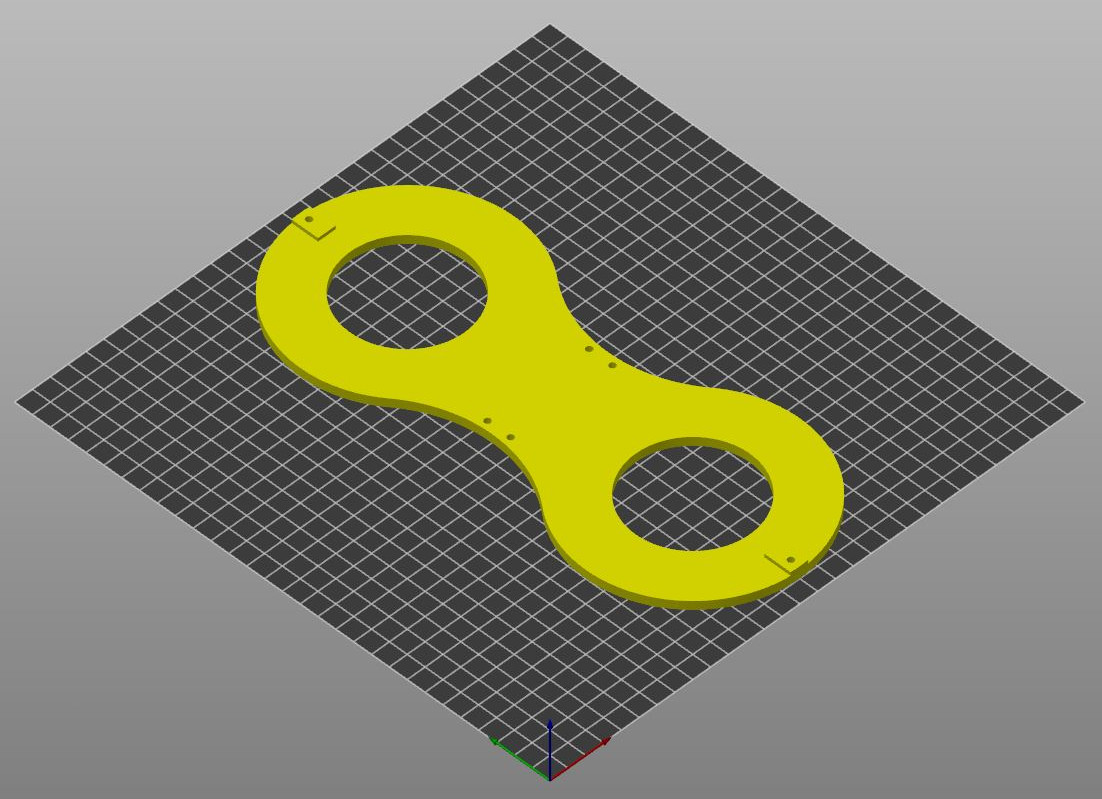 |
| Art2BodyUnion | 1 | PLA | 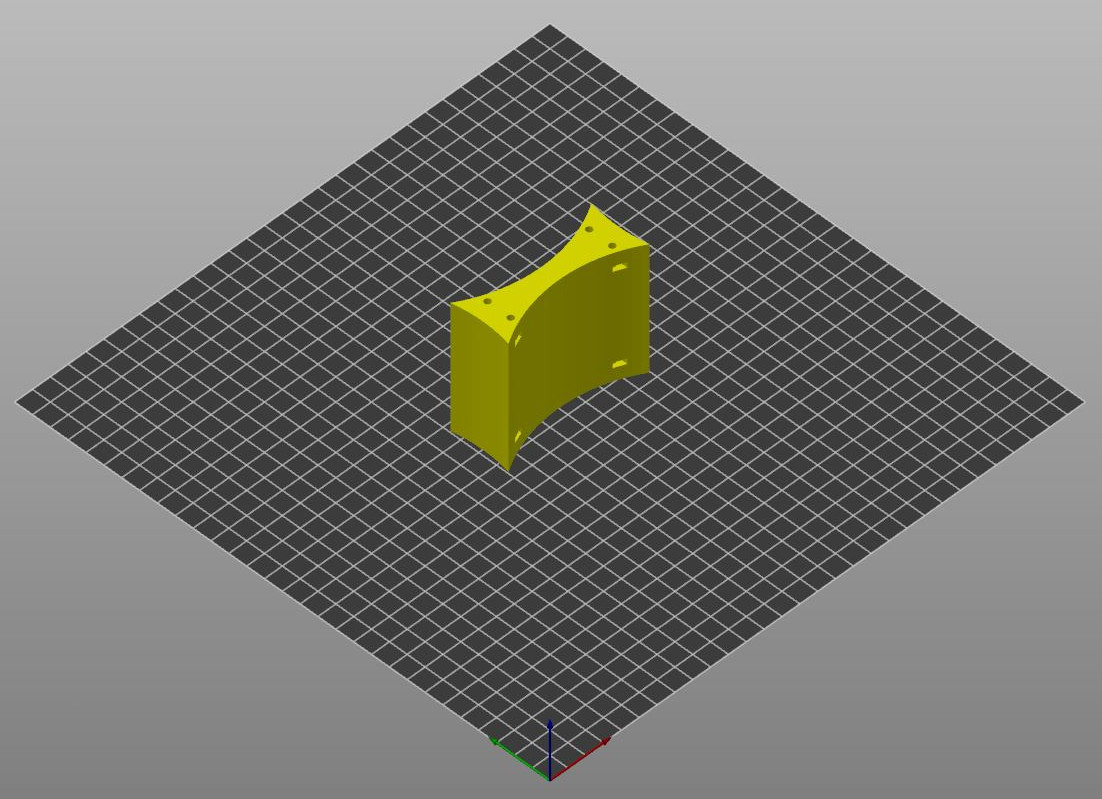 |
| Art2MotorGear | 2 | ABS |  |
| Art2SideCover | 2 | PLA | 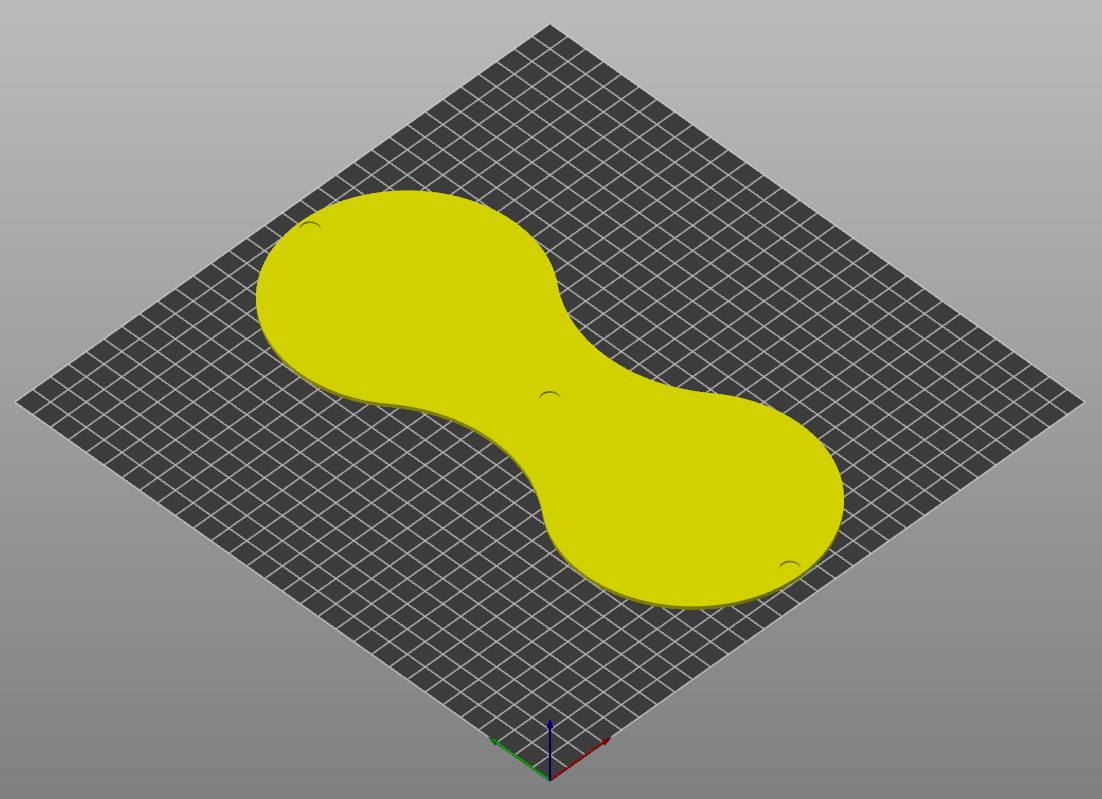 |
| Art23Optodisk | 2 | PLA |  |
| Art3Body | 1 | PLA | 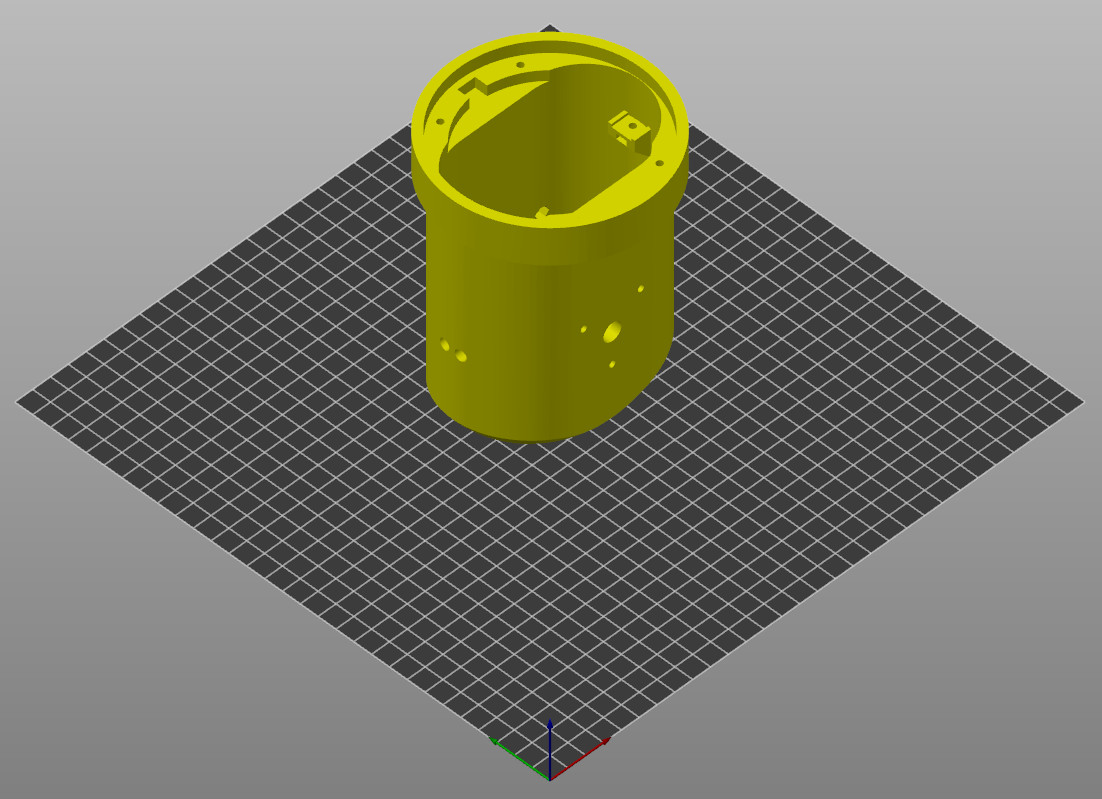 |
| Art3Pulley | 1 | PLA |  |
| Art3TensionerBody | 2 | PLA |  |
| Art3TensionerPulley | 2 | PLA |  |
| Art4Body | 1 | PLA |  |
| Art4BodyBot | 1 | PLA |  |
| Art4BodyFan | 2 | PLA |  |
| Art4TransmissionColumn | 1 | PLA | |
| Art4BearingRing | 1 | PLA |  |
| Art4BearingPlug | 1 | PLA |  |
| Art4MotorFix | 1 | ABS | 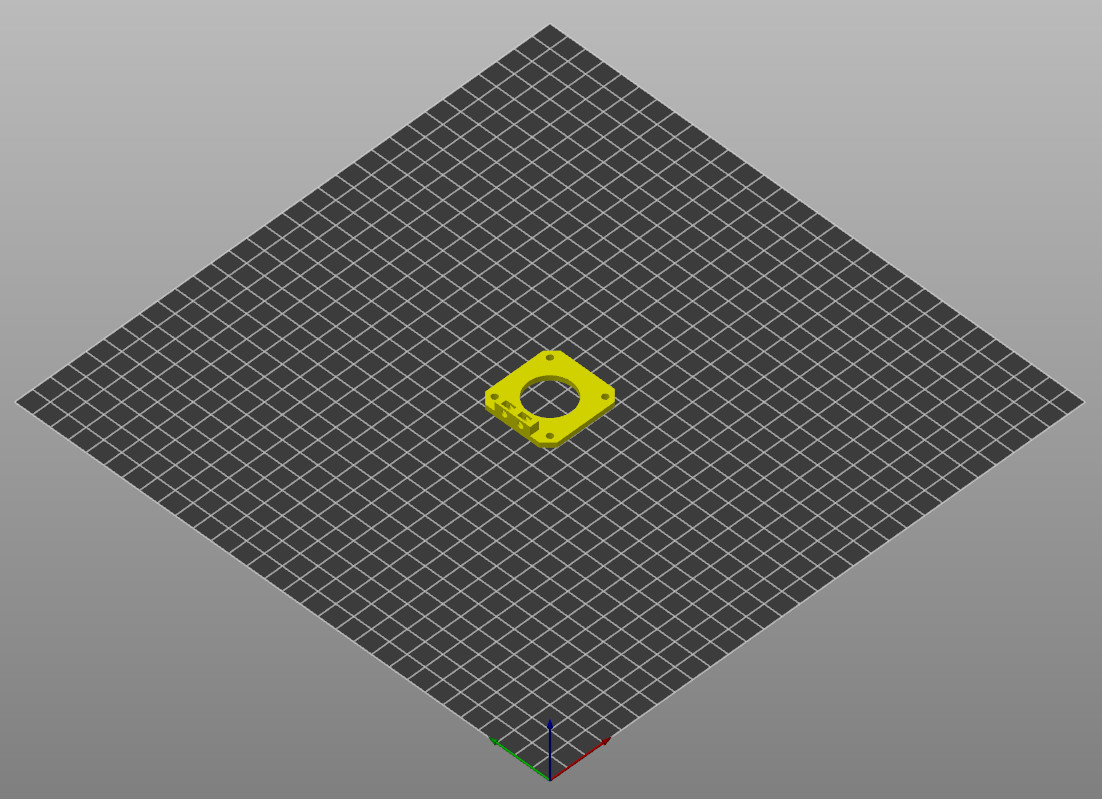 |
| Art4MotorGear | 1 | ABS | 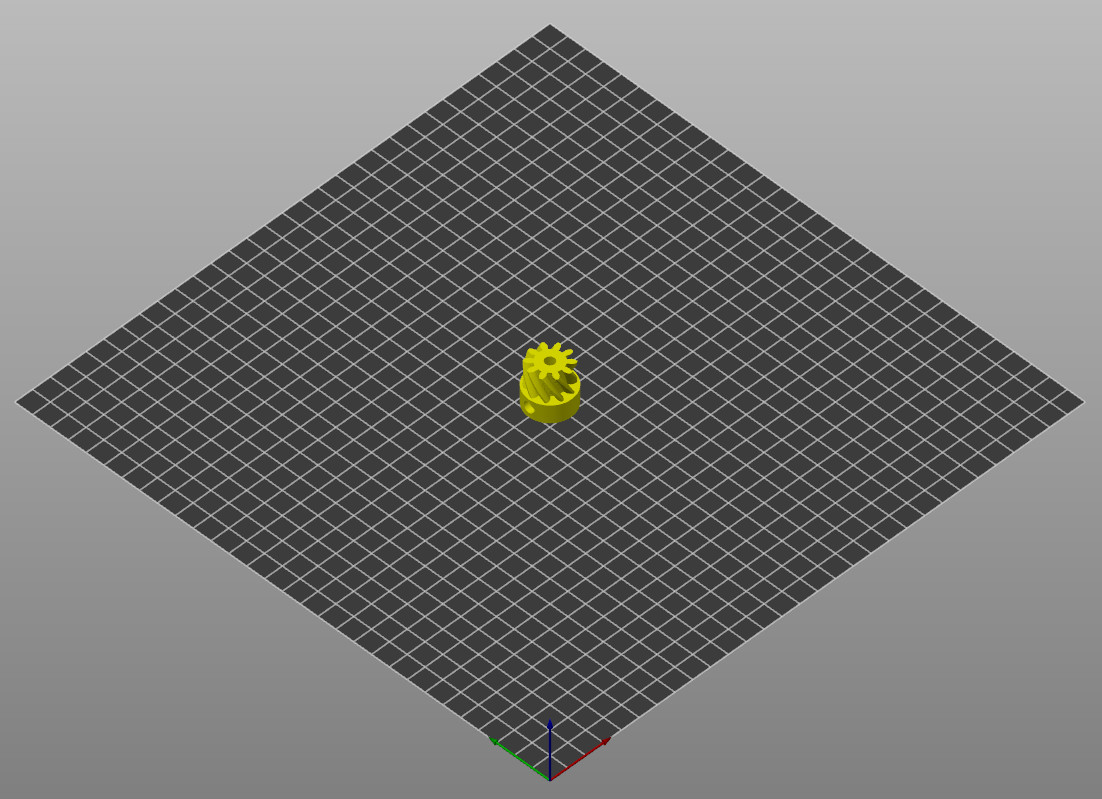 |
| Art4Optodisk | 1 | PLA |  |
| Art4BearingFix | 2 | PLA | 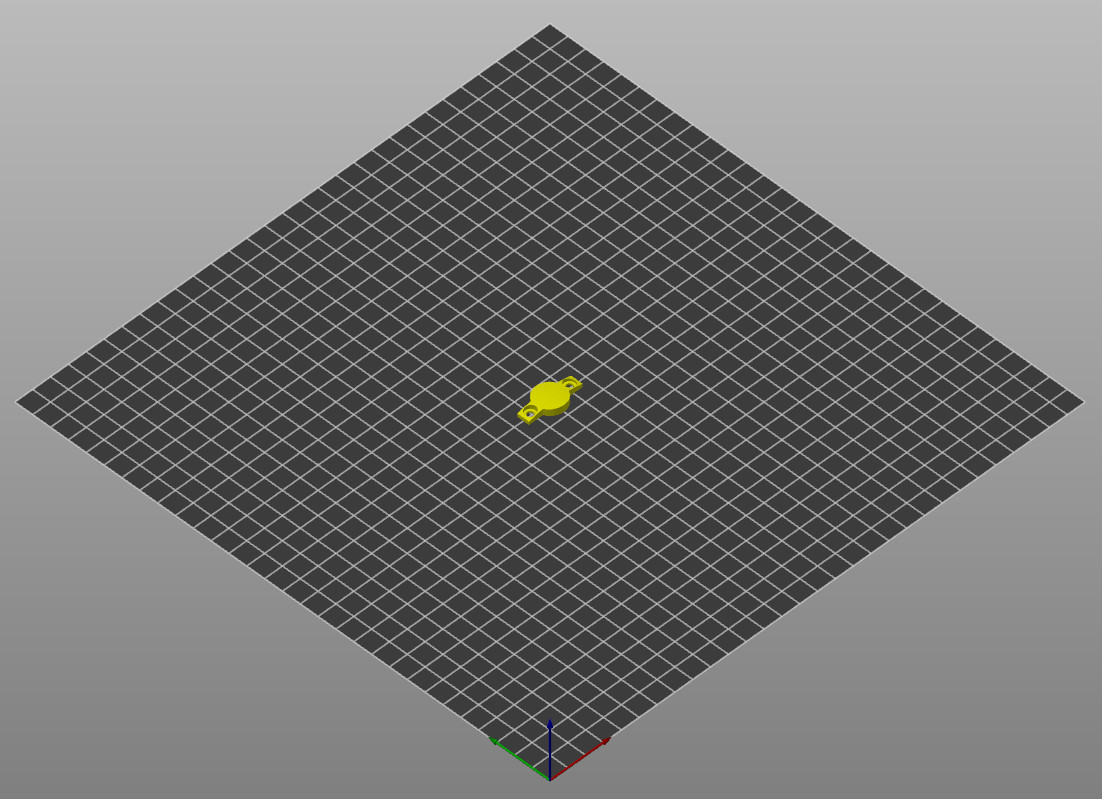 |
| Art56GearPlate | 1 | PLA | 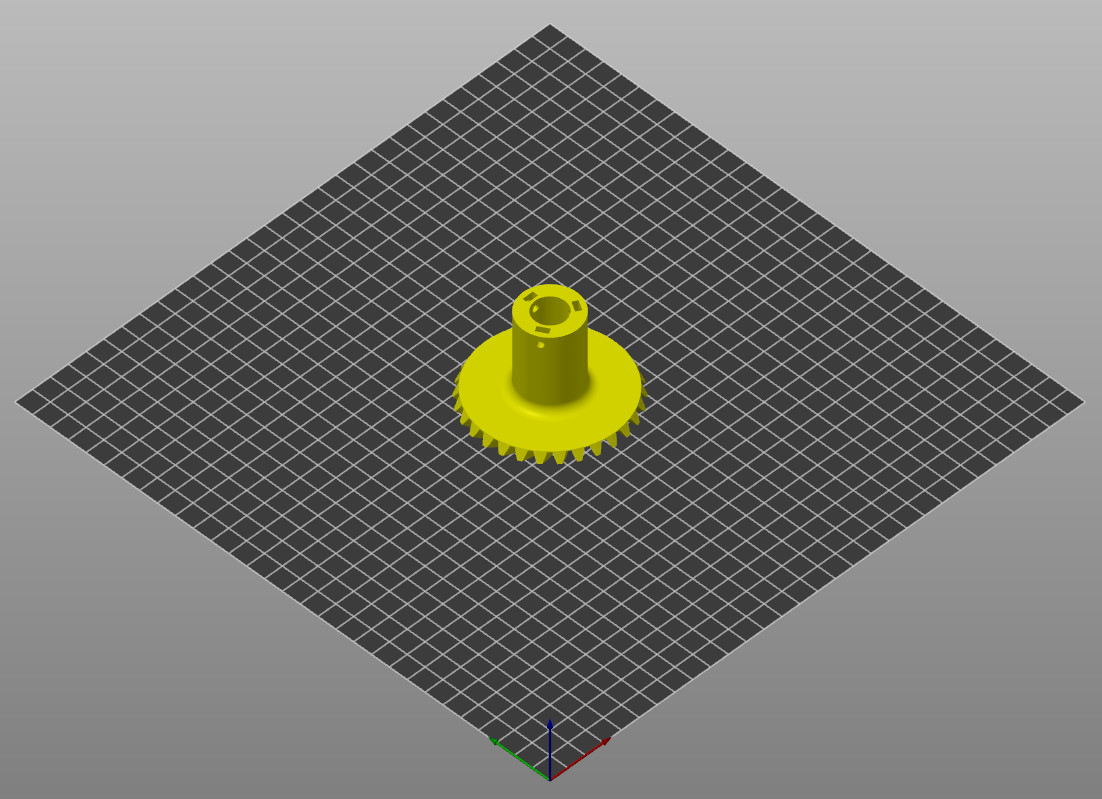 |
| Art56Interface | 1 (Optional) | PLA | 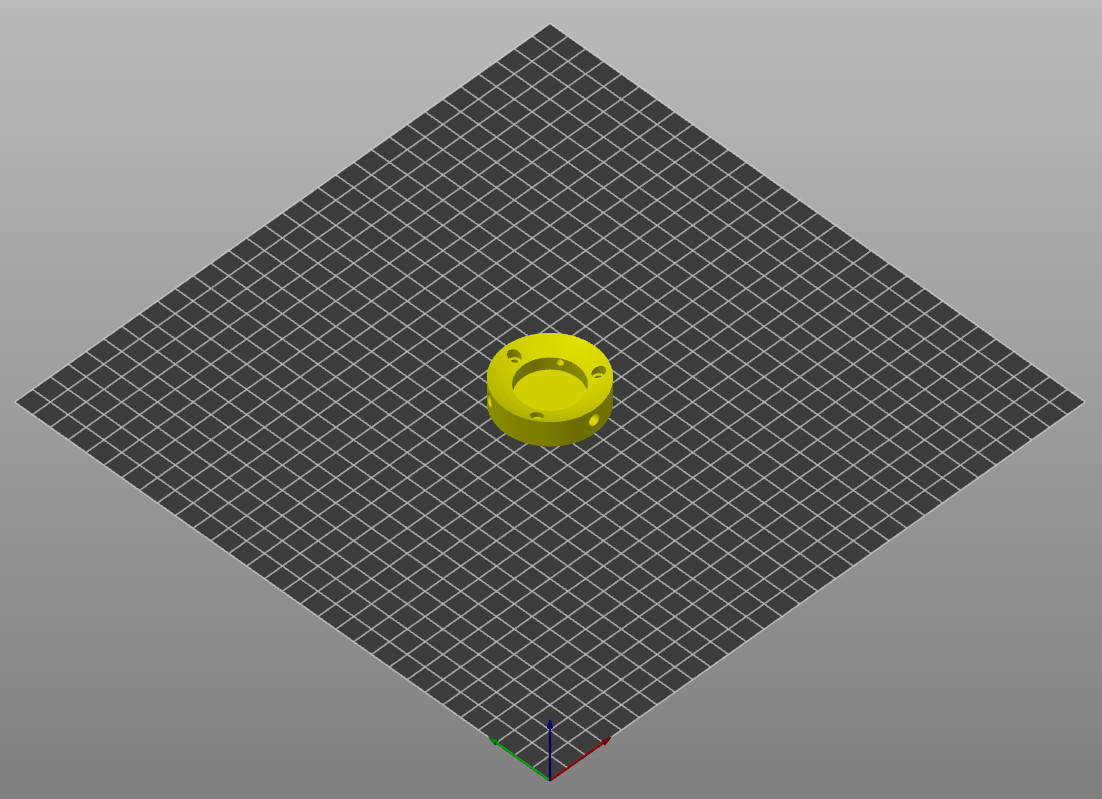 |
| Art56MotorCoverRing | 1 | PLA |  |
| Art56MotorHolderA | 2 | ABS | 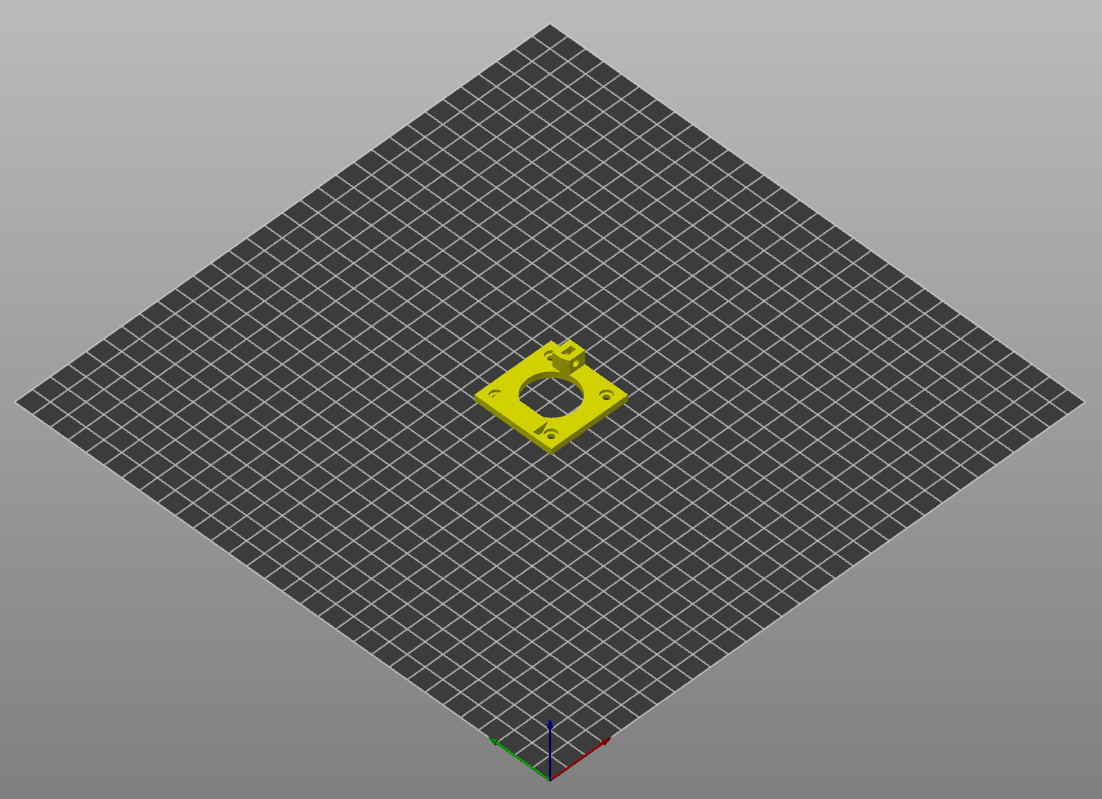 |
| Art56MotorHolderB | 2 | ABS |  |
| Art56SmallGear | 2 | PLA | 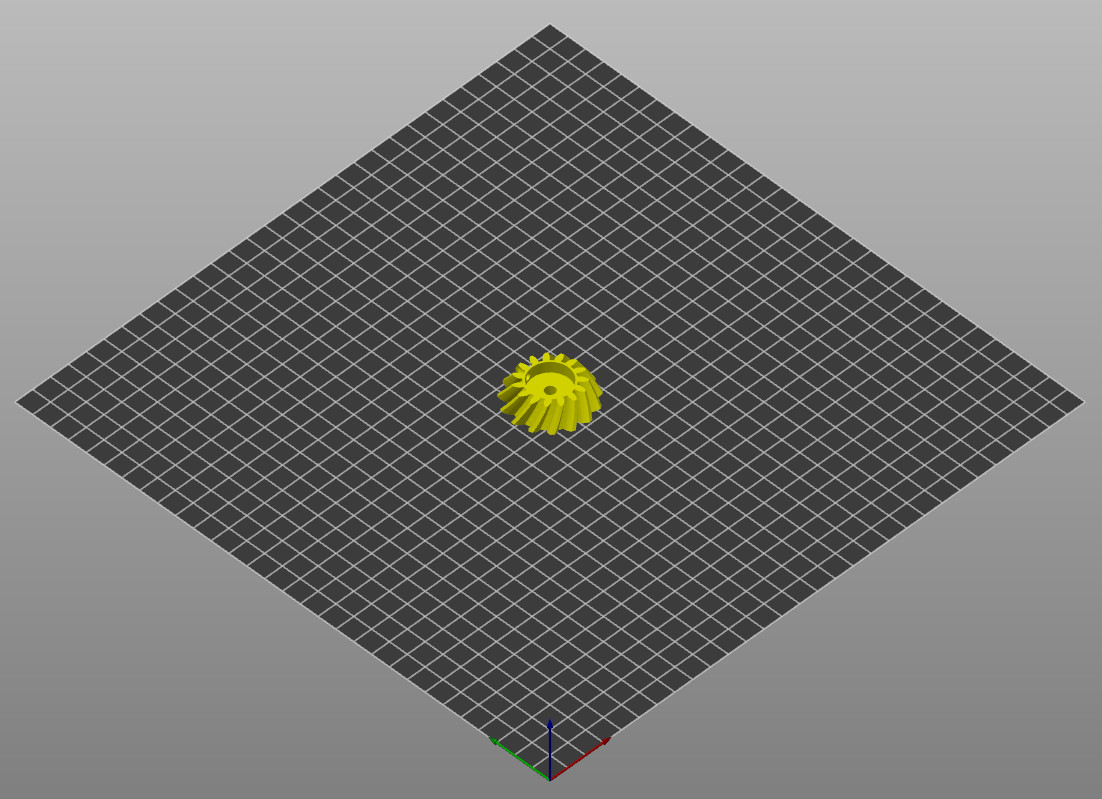 |
| CommonBearingFix | 4 | PLA |  |
| CommonBearingFixThrough | 4 | PLA | 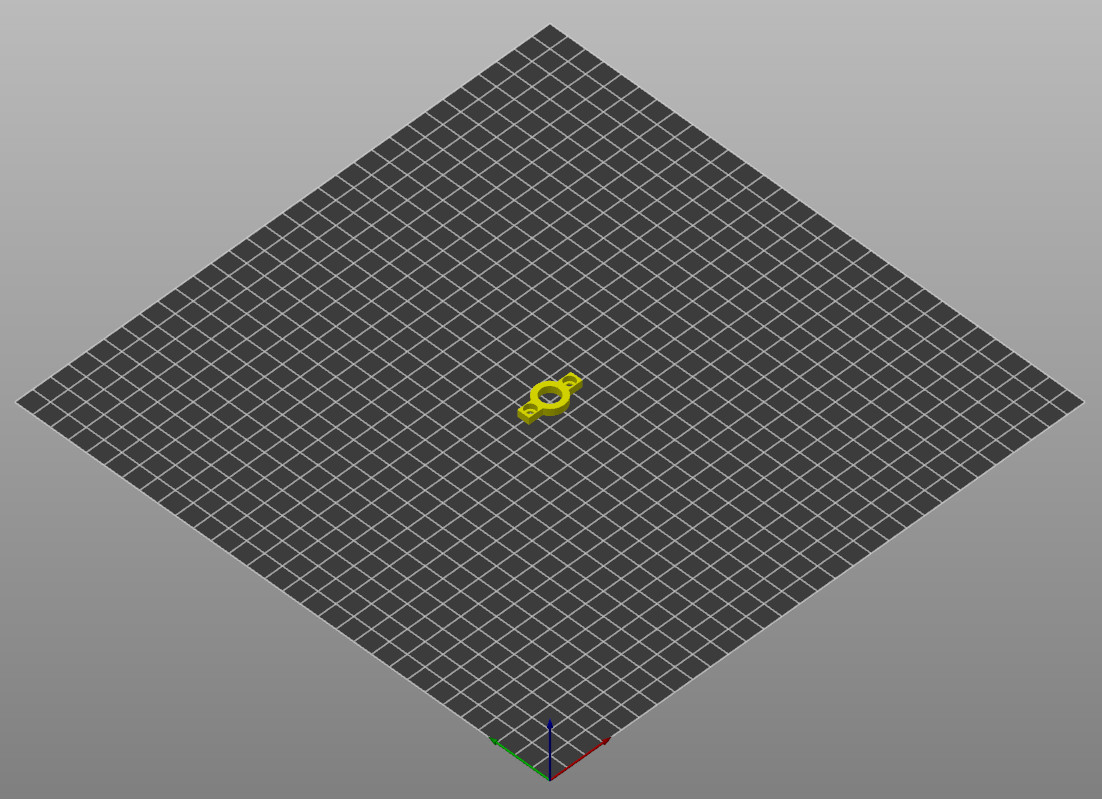 |
| Gripper | GripperTop: 1 GripperBot: 1 ActiveArm: 1 PassiveArm: 1 Arm: 2 Finger: 2 | PLA | 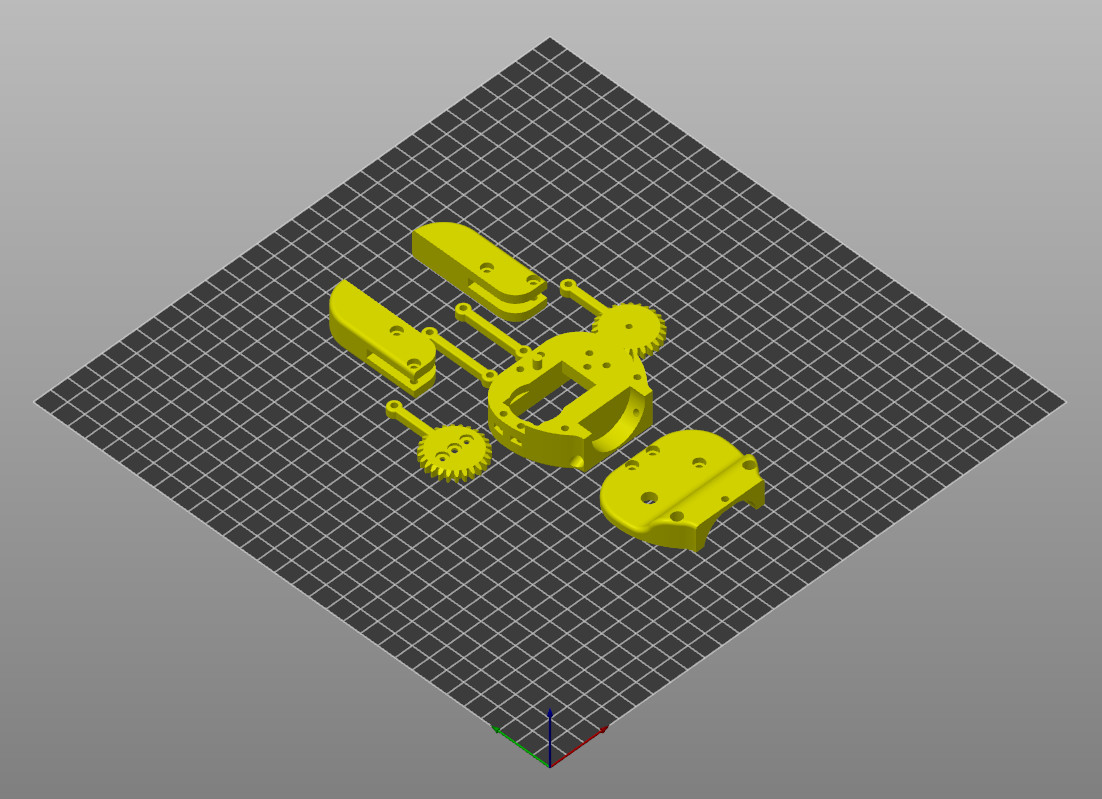 |