Get Started
Hello and welcome to the Thor community!
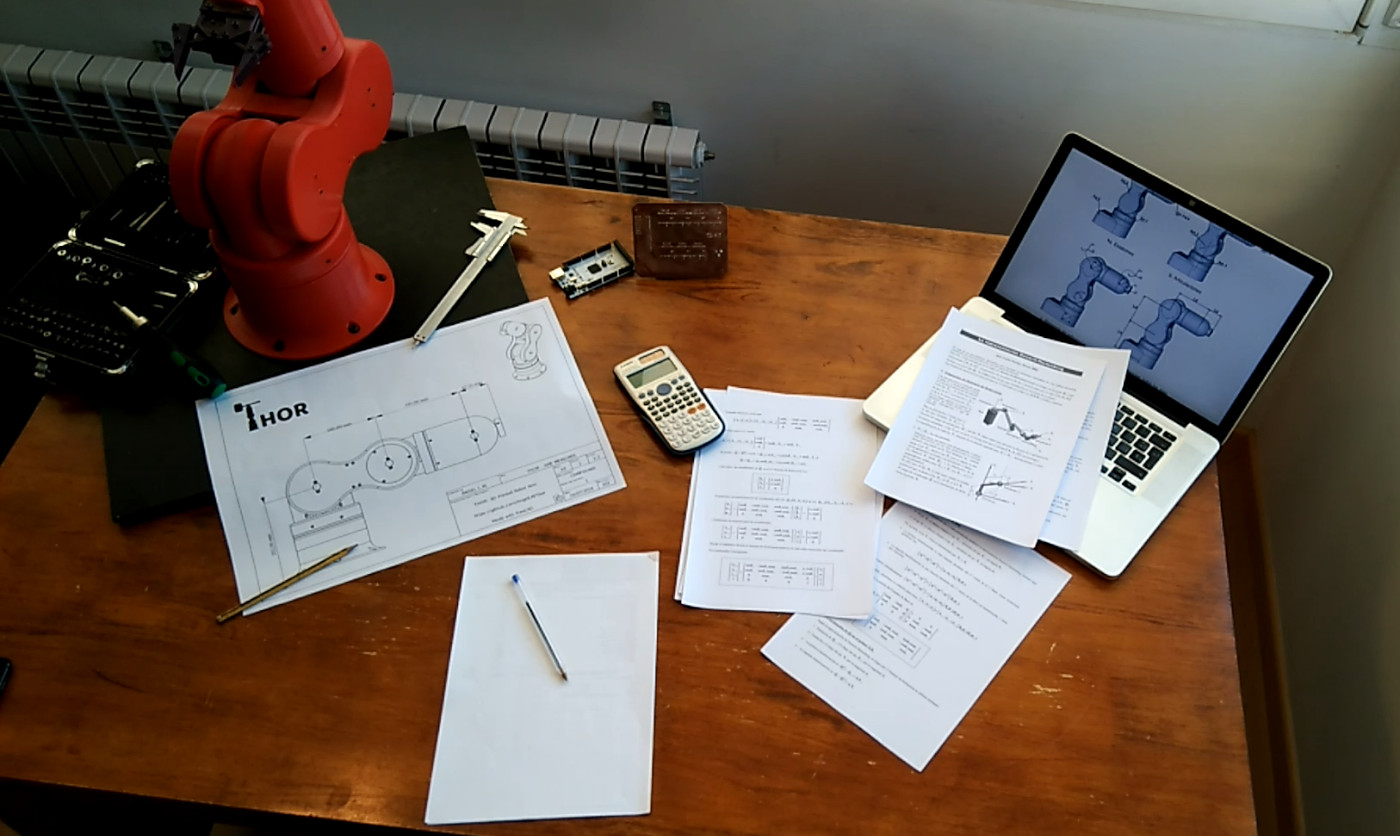
If you are reading this you may be interested in this project and who knows, maybe in building your own Thor robot. In the next sections I’ll try to guide you across all the steps needed for complete this project. Let’s go!
Difficulty
First things first, this project is not a weekend project. For better or worse it is a long duration project that would take you several weeks or months to complete. Think about it two times before starting this project!
In terms of knowledge, this project touches many areas as: CAD, 3D Printing, PCB Design, Electronics, Programming and of course Robotics. It’s not mandatory to be an expert in all of this areas, but it would be advisable to have some basic notions or, at least, time and attitude to learn.
If soldering electronic boards is not your thing, don’t worry, we’ve got you covered. We currently support a commercial board that you can buy and plug in without soldering. You will almost certainly have to solder wires in the assembly process, but don’t worry, it’s very easy!
I’ll try my best to give you the necessary indications and references in this page so that you can start riding on your own, but if after reading it and checking the FAQ you still have any question, do not hesitate to ask in the forum.
Tools
In this section the hardware and software tools used in this project are detailed. Is not necessary to have all of them to get started, but it’s important to keep in mind what you will need as you progress.
Hardware
3D Printer: Needed to print the robot. 300x300mm printing area it’s enough to print every piece. Don’t you worry if you have a printer with 200x200mm printing area, there are splitted versions of the largest pieces that will fit in your machine.
Soldering station: In order to solder wires and the electronic components to the PCB you will need a soldering station, preferably one with a hot air gun for soldering SMD components (like this one). If you don’t have experience soldering SMD components (like me before doing this project), there are SMD soldering training kits to gain some experience before doing the real thing.
Multimeter: Useful when doing the electronic connections, testing sensors or checking soldered unions. As a reference, I have the RM113D and I’m happy with it 🙂
Allen keys and screw driver set: Needed to tighten the screws in the robot assembly.
Software
The development of the Thor robot has been done only with open source tools, so you don’t need to expend money on software licenses. Cool, right?
FreeCAD: 3D parametric modeler. Every single piece of Thor has been modeled using this amazing tool. Even if you are not interested in the design of new pieces or features, I recommend to download it because there are a FreeCAD file that contains the robot Assembly that will be very helpful when you are building the robot.
KiCAD: Electronic Design Automation Suite. Used to design the Control PCBs. If you are interested in studying, modifying or developing electronics for this or any other project you should check it out! Otherwise, you won’t need to use this tool, as you will find every file needed to the manufacture of the Control PCB in the download section.
Code Editor: If you want to dig into the guts of the software or the control firmware, it is recommended to use a text editor with code support such as Atom.
Control Software: There is a software called Asgard created especially to control Thor. Later we will see how to use this tool and what are its functionalities.
Firmware
GRBL: This firmware is commonly used to control CNC machines. I made some modifications of this firmware to allow the control of 8 stepper motors using the Thor ControlPCB.
RRF: This firmware is used in many of today’s 3D printers. I have made some adjustments to drive Thor using the Fly Super8Pro board from Mellow 3D.
Project Files
In the Downloads section you will find every file you will need to build Thor: FreeCAD files, STL & STP models, PCB Schematics, Firmware, Control software, etc.
What should I do first: Printing or buying?
Why not both? If you are 100% sure you are into this project, it would be a nice idea to buy the components before/while printing the pieces. The printing process takes a lot of time, about 200 hours if there are not printing issues. You may want to check that the components as bearings, nuts or motor shafts fit into the printed pieces, so is better if you can test it on the go in order to correct any possible deviations or issues.
That said, before you start printing, take a look at the BOM and check that you can purchase all these component. To make it easier I have added purchase links for most of the components, but the seller may not ship to some countries. Of couse you can look for another shop or vendor to buy the components, the only thing you will have to take into account is that the specifications match.
Then you can start printing while the components arrive. Go to the Thor 3D Printing Guide to read about the recommended printing settings and some tips.
Assembly
When the components start to arrive and the printer keeps delivering pieces, you will feel the imperious need to start assembling parts of the robot, don’t worry, it’s normal.
In the Assembly documentation you will find videos, an interactive instruction manual and the instructions to open the Assembly FreeCAD file.
Firmware
Control electronics without firmware is of little use. In the Firmware documentation it’s explained step by step how to install the firmware in the control electronics and how to configure its parameters so that it works properly.
Software
In the Firmware configuration you learned to move the robot by writing the code directly in the console. To test the movements is fine, but there are tools that make this task easier and offer extra functionalities to control the robot. In the Control Software page you will find the instructions to install and run Asgard, a control software made explicitly to control Thor.